Introduction
Setup LAN/Network ConfigurationEdit Custom HTML (under Home Page)
Requires administration privileges.
Overview
The NetMeter-OMNI can host up to 4 custom HTML pages. The pages can be accessed as:
Custom page 0: http://omni/file.htm
Custom page 1: http://omni/file.htm?region=html1
Custom page 2: http://omni/file.htm?region=html2
Custom page 3: http://omni/file.htm?region=html3
Replace "omni" with the name or IP address of your specific NetMeter(s).
Pages may not exceed 32KB in size.
Creating Custom HTML
Navigate to:
SetupLAN/Network ConfigurationEdit Custom HTML (under Home Page)
This should bring up the HTML editing window (which will initially be blank):
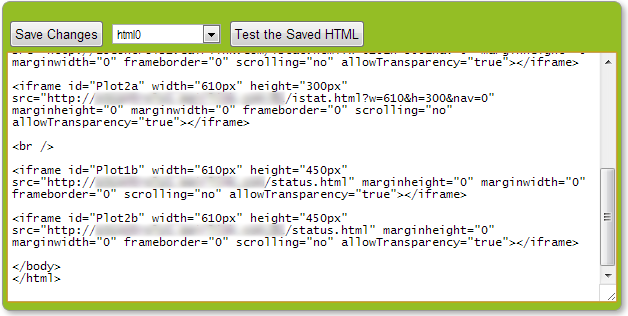
Type in or "paste" the custom HTML and then click Save Changes to store it into the NetMeter-OMNI's memory.
To try out the saved HTML, click Test the Saved HTML (make sure you save your changes before testing).
Example Custom HTML
The possibilities for custom HTML are virtually unlimited. However a simple example will be given.
A typical way to use custom HTML is to embed widgets inside "I-frames". Multiple widgets from either a single NetMeter-OMNI or multiple NetMeter-OMNI's may be used on a single custom page allowing data from multiple NetMeter-OMNIs to be visually aggregated.
Here is the source code for a simple example:
<!DOCTYPE html PUBLIC "-//W3C//DTD XHTML 1.0 Transitional//EN" "http://www.w3.org/TR/xhtml1/DTD/xhtml1-transitional.dtd">
<html xmlns="http://www.w3.org/1999/xhtml">
<head>
<meta http-equiv="Content-Type" content="text/html; charset=utf-8" />
<title>Simple Dashboard</title>
</head>

<body>
<div style="text-align:center; font-family:Verdana, Geneva, sans-serif; font-size:24px; font-weight:bold">Simple Dashboard</div>


<iframe width="500px" height="300px" src="http://omni/ilog.html?list=[2,3]&auto=1&tspan=3h&w=500&h=300" marginheight="0" marginwidth="0" frameborder="0" scrolling="no" allowTransparency="true"></iframe>

<iframe width="500px" height="300px" src="http://omni2/ilog.html?list=[2,3]&auto=1&tspan=3h&w=500&h=300" marginheight="0" marginwidth="0" frameborder="0" scrolling="no" allowTransparency="true"></iframe>

</body>
</html>
The Code is mostly a boilerplate HTML document. The two I-frames simply reference special HTML widgets for each of the NetMeter-OMNIs and those widgets create the real-time graphs pictured below.
You can try out the code as follows:
- Copy and paste the above HTML code into the HTML editing window of one of your NetMeter-OMNIs
- Change "omni" and "omni2" to the net name or IP address of two NetMeter-OMNIs on your network
- save it, and test it
The resulting HTML looks something like this:

Try changing the "src" link to display other widgets as described at widgets help page.
Creating a Custom Home Page
One of the user customized web pages may be used as the default homepage.
Go to SetupLAN/Network Configuration and scroll down to the Home Page section.
Edit the custom HTML as described above. Once the custom HTML is suitable, then go back to SetupLAN/Network Configuration and select the appropriate HTML page under "Default Home Page".
If you accidentally mis-configure the default homepage then you can return to the setup page by manually typing in the link such as:
http://omni/setup.html (replace "omni" with the IP address or net name for your specific NetMeter)
For learning about writing HTML, consult one of the many online learning resources.